

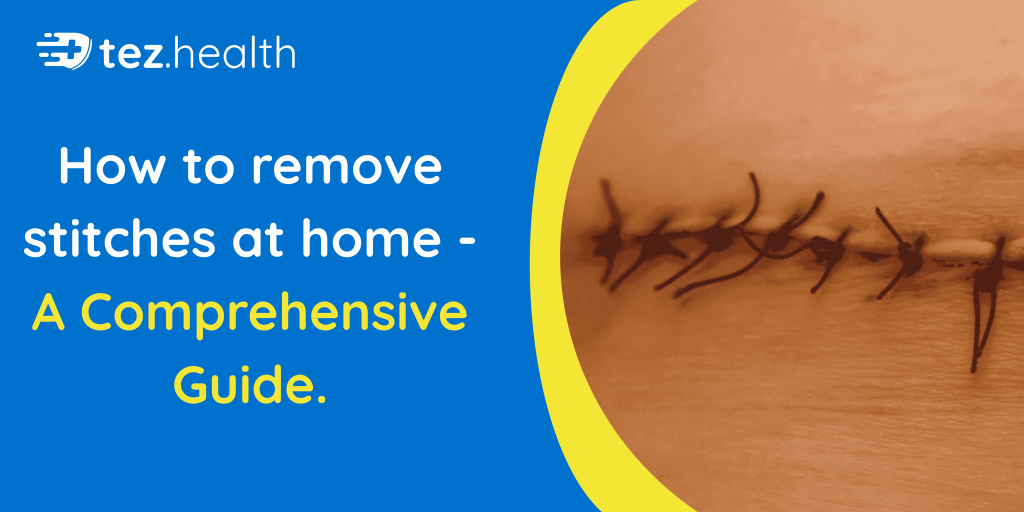
Stitches, also known as sutures, are commonly used to close wounds after surgery, injuries, or deep cuts. They help the skin heal properly by holding the wound edges together. In addition, they reduce the risk of infection and minimize scarring.
However, once healing has progressed sufficiently, these stitches must be removed at the right time and in the correct manner.
So, many people naturally wonder: Can stitches be removed at home safely?
In certain minor cases, yes—but only with proper medical guidance and precautions. Although professional removal is always the safest option, this comprehensive guide explains when home removal may be considered, the correct step-by-step method, possible risks, and essential aftercare.
Understanding Stitches and Their Purpose
Stitches are sterile medical threads used to close:
- Surgical incisions
- Deep cuts
- Traumatic wounds
- Lacerations
They support the wound during the early healing stages. These stages include:
- Clot formation
- Inflammation
- Tissue repair
- Skin remodeling
During this period, the stitches prevent the wound from reopening. Eventually, once the skin has healed enough to stay closed on its own, the stitches are no longer needed—provided they are non-absorbable.
Types of Stitches: Absorbable vs. Non-Absorbable
Before considering removal, it is essential to understand what type of stitches were used.
Absorbable Sutures
First, absorbable sutures dissolve naturally inside the body over time. Therefore, they do not require removal. These are commonly used for internal wounds or certain minor procedures.
Non-Absorbable Sutures
In contrast, non-absorbable sutures do not dissolve. As a result, they must be manually removed after the wound has healed. These stitches are typically made from nylon, silk, or synthetic fibers.
Importantly, home removal applies only to non-absorbable surface stitches—and only under safe conditions.
When Should Stitches Be Removed?
The timing of stitch removal depends largely on the location of the wound and how quickly it heals.
Generally, removal guidelines are:
- Face: 5–7 days
- Scalp: 7–10 days
- Chest or abdomen: 10–14 days
- Arms and legs: 10–14 days
- Joints: Around 14 days
If stitches are removed too early, the wound may reopen, bleed, or scar more noticeably. On the other hand, if they are removed too late, skin marks, stitch embedding, or irritation may occur.
Therefore, always confirm the correct timing with your healthcare provider before attempting removal.
When Is It Safe to Remove Stitches at Home?
In some minor situations, home removal may be considered. However, this is appropriate only if:
- The wound is small and superficial
- It was stitched for a minor injury
- There are no signs of infection
- The wound edges are completely closed
- A doctor has advised removal after a specific number of days
- You have access to sterile tools
Conversely, do not remove stitches at home if:
- The wound is deep or from major surgery
- There is redness, swelling, or pus
- The wound is on the face or near the eyes
- The patient has diabetes or weakened immunity
- You are unsure whether healing is complete
When in doubt, professional care is always the safer choice.
Signs the Wound Is Ready for Stitch Removal
Before proceeding, carefully inspect the wound. It may be ready if:
- The skin edges are fully sealed
- There is no visible gap
- There is no discharge or bleeding
- Redness is minimal
- There is no pain on gentle touch
If, however, the wound still looks raw, swollen, or slightly open, postpone removal and consult a healthcare professional.
Supplies Needed for Safe Stitch Removal
If medical advice confirms home removal is appropriate, gather the following:
- Small sterile scissors (preferably suture scissors)
- Sterile tweezers
- Alcohol wipes
- Clean gauze
- Antiseptic solution
- Disposable gloves
- Good lighting
Maintaining sterility is critical. Otherwise, the risk of infection increases significantly.
Step-by-Step Guide to Removing Stitches at Home
If you proceed, move slowly and carefully.
1. Wash Your Hands Thoroughly
First and foremost, wash your hands with soap and water for at least 20 seconds. Then dry them with a clean towel. If available, wear disposable gloves.
2. Sterilize the Tools
Next, clean scissors and tweezers using alcohol wipes or by boiling them for 5–10 minutes. Afterward, allow them to cool and dry completely.
3. Clean the Wound Area
Then gently clean the wound using an antiseptic solution. Remove any dried crust carefully, ensuring the skin is dry before proceeding.
4. Examine Each Stitch
Each stitch has:
- A knot
- A thread entering the skin
- A thread exiting the skin
Importantly, you will cut only one side of the thread close to where it enters the skin.
5. Cut the Stitch Carefully
Using tweezers, gently lift the knot. Then cut the thread close to the skin on one side only. Do not cut both ends. Otherwise, contaminated thread may pass back through the wound.
6. Remove the Stitch Gently
After cutting, pull the knot upward slowly and steadily. The stitch should slide out easily.
If you feel resistance, stop immediately and seek medical assistance.
7. Repeat Gradually
Continue removing one stitch at a time. However, after removing a few stitches, pause and check whether the wound remains securely closed. If separation occurs, stop immediately.
8. Clean the Area Again
Finally, apply antiseptic once more. If needed, cover the area lightly with clean gauze.
Aftercare Following Stitch Removal
Although stitches are removed, healing continues for several weeks.
Therefore, follow these aftercare tips:
- Keep the area clean and dry
- Avoid stretching or heavy physical activity
- Apply antibiotic ointment if recommended
- Protect the area from sun exposure
- Use sunscreen to reduce scarring
Remember, skin strength gradually improves but does not fully return immediately.
Warning Signs After Stitch Removal
Even after successful removal, monitor the area closely. Seek medical care if you notice:
- Wound reopening
- Bleeding
- Increasing redness or swelling
- Pus discharge
- Fever
- Severe or worsening pain
These symptoms may indicate infection or delayed healing.
Risks of Removing Stitches at Home
Although possible in select minor cases, home removal carries certain risks. For example:
- Infection
- Incomplete stitch removal
- Retained suture fragments
- Wound reopening
- Increased scarring
For this reason, professional removal significantly lowers complication rates.
Situations Where Home Removal Is Unsafe
Never attempt home removal for:
- Major surgical incisions
- C-section stitches
- Orthopedic surgical wounds
- Deep abdominal or chest wounds
- Infected wounds
- Stitches near eyelids or inside the mouth
These situations require professional evaluation and specialized care.
What About Surgical Staples or Steri-Strips?
Unlike stitches, surgical staples should never be removed at home because they require specialized medical tools.
On the other hand, Steri-Strips usually fall off naturally. However, if they remain attached after 10–14 days and healing is complete, they may be gently removed.
Conclusion
In summary, stitches can sometimes be removed at home—but only in minor, well-healed cases and with proper medical guidance. Timing, sterility, and careful technique are essential.
Ultimately, your goal is not merely to remove stitches. Instead, it is to ensure complete healing with minimal scarring and no complications.
Whenever uncertainty exists, choose safety over convenience. Proper healing today prevents serious problems tomorrow.
Frequently Asked Questions how to Remove Stitches at Home
1.Can I remove stitches at home safely?
Yes, but only if the wound is small, fully healed, and your doctor has advised removal. Otherwise, professional removal is strongly recommended.
2.How do I know when stitches are ready?
They are usually ready when:
- The wound edges are completely closed
- There is no redness, swelling, or discharge
- There is no pain on gentle touch
- The recommended healing time has passed
Even so, confirm timing with your healthcare provider.
3.How many days after stitches can they be removed?
Removal timing varies by location:
- Face: 5–7 days
- Scalp: 7–10 days
- Arms and legs: 10–14 days
- Joints: Around 14 days
Removing stitches too early may reopen the wound.
4.Does removing stitches hurt?
Typically, stitch removal causes only mild discomfort. However, if you experience sharp or severe pain, stop immediately and consult a doctor.
5.What happens if stitches are removed too early?
If removed prematurely, the wound may reopen, bleed, become infected, or leave a larger scar. Therefore, proper timing is crucial.
6.What if a stitch is difficult to remove?
Do not pull forcefully. Resistance may indicate incomplete healing or an embedded stitch. In that case, seek medical care.
7.What are signs of infection after removal?
Watch for:
- Increasing redness
- Swelling
- Pus discharge
- Fever
- Worsening pain
If these occur, seek medical attention promptly.
8.Can surgical staples be removed at home?
No. Staples require special tools and professional training for safe removal.
9.How should I care for the wound after stitches are removed?
After removal:
- Keep the area clean and dry
- Avoid heavy activity
- Use antibiotic ointment if advised
- Protect the scar from sun exposure
Proper aftercare promotes complete healing and minimizes scarring.