Medical emergencies are stressful, chaotic, and emotionally overwhelming. When someone collapses, experiences severe chest pain, has difficulty breathing, or suffers a serious injury, the first instinct is panic. But the moments between calling an ambulance and its arrival are extremely critical. What you do during this waiting period can significantly affect the patient’s survival and recovery.
In emergency care, the first few minutes often determine the outcome. While trained paramedics are on their way, your actions can help stabilize the patient, prevent deterioration, and even save a life.
This detailed guide explains exactly what to do while waiting for an ambulance, depending on the type of emergency, and how to stay calm and effective until professional medical help arrives.
Step 1: Stay Calm and Take Control
The most important thing you can do is stay calm.
Panic leads to poor decision-making, delays, and confusion. Take a deep breath. Remind yourself that help is on the way. Your role is to provide basic assistance and ensure safety until the ambulance arrives.
If others are present:
- Assign clear roles (someone calls the ambulance, someone opens the gate, someone gathers documents).
- Avoid crowding the patient.
- Keep unnecessary people away.
Clear thinking saves time—and time saves lives.
Step 2: Confirm Ambulance Details
After calling emergency services:
- Confirm your exact location.
- Share nearby landmarks.
- Provide patient details (age, symptoms, consciousness level).
- Follow dispatcher instructions carefully.
Many dispatchers provide step-by-step guidance for CPR or other first aid. Listen carefully and follow instructions precisely.
Step 3: Ensure Scene Safety
Before helping the patient, ensure the environment is safe.
For example:
- In road accidents, check for traffic hazards.
- In fire-related incidents, ensure there is no ongoing danger.
- In electrical injuries, turn off the power source.
- In gas leaks, move to fresh air.
You cannot help effectively if you become another victim.
Step 4: Check Responsiveness
Gently tap the person and ask loudly:
“Are you okay?”
If the person responds:
- Keep them awake and talking.
- Reassure them.
- Ask about pain or symptoms.
If the person does not respond:
- Check breathing immediately.
- Look for chest movement.
- Listen for breathing sounds.
- Feel for airflow.
This assessment determines your next steps.
Step 5: If the Person Is Unconscious but Breathing
If the patient is unconscious but breathing:
- Place them in the recovery position (on their side).
- Tilt the head slightly backward to keep airway open.
- Loosen tight clothing.
- Monitor breathing continuously.
The recovery position prevents choking if vomiting occurs.
Step 6: If the Person Is Not Breathing – Start CPR
If there is no breathing or only gasping:
Begin CPR immediately.
CPR Steps for Adults
- Place the heel of your hand on the center of the chest.
- Place your other hand on top.
- Push hard and fast at a rate of 100–120 compressions per minute.
- Allow full chest recoil between compressions.
- Continue until ambulance arrives.
If trained:
- Provide 30 compressions followed by 2 rescue breaths.
If not trained:
- Perform hands-only CPR continuously.
Early CPR dramatically increases survival in cardiac arrest.
Step 7: If There Is Severe Bleeding
Uncontrolled bleeding can be fatal within minutes.
What to do:
- Apply firm pressure directly on the wound using cloth or bandage.
- Elevate the injured area if possible.
- Do not remove deeply embedded objects.
- If blood soaks through, place another cloth on top—do not remove the first one.
Maintain pressure until professionals arrive.
Step 8: If the Person Has Chest Pain
Chest pain may indicate a heart attack.
Do the following:
- Make the person sit upright.
- Loosen tight clothing.
- Keep them calm and still.
- If prescribed, assist with nitroglycerin medication.
- If advised by a doctor, give aspirin (unless allergic).
Do NOT allow them to walk around or exert themselves.
Step 9: If the Person Is Having a Stroke
Recognize stroke symptoms using FAST:
- Face drooping
- Arm weakness
- Speech difficulty
- Time to act
What to do:
- Keep the person comfortable.
- Do not give food or water.
- Note the time symptoms started.
- Monitor breathing and consciousness.
Stroke treatment is time-sensitive.
Step 10: If There Is a Seizure
During a seizure:
- Do not restrain the person.
- Do not put anything in their mouth.
- Remove nearby dangerous objects.
- Cushion their head.
- After seizure stops, place them in recovery position.
If seizure lasts more than 5 minutes, inform the dispatcher.
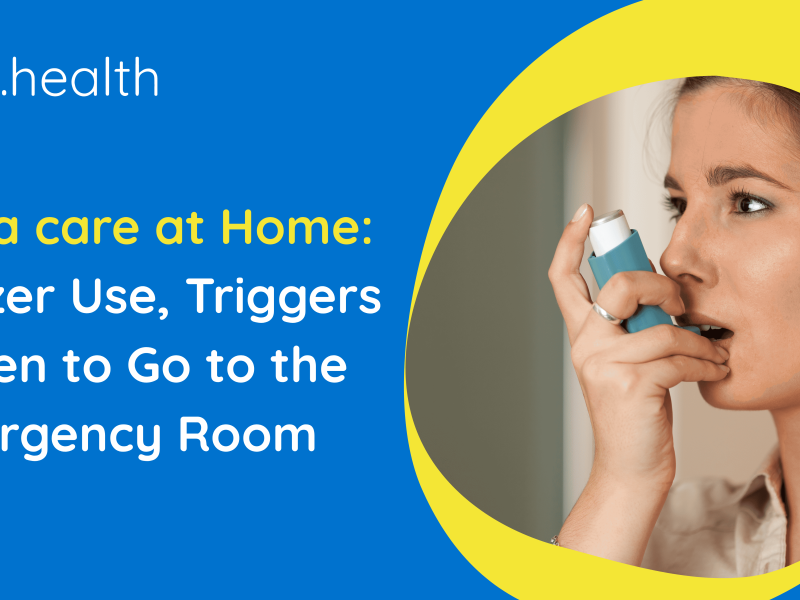
Step 11: If There Is Breathing Difficulty
For asthma or respiratory distress:
- Help them sit upright.
- Use prescribed inhaler if available.
- Loosen tight clothing.
- Keep them calm.
Panic worsens breathing problems.
Step 12: If There Is a Fracture
If fracture is suspected:
- Do not move the limb unnecessarily.
- Immobilize using splints or firm support.
- Avoid straightening deformed limbs.
- Control any bleeding.
Movement can worsen internal damage.
Step 13: Avoid Common Mistakes
While waiting for the ambulance, avoid:
- Giving food or water to unconscious patients.
- Forcing someone to stand or walk.
- Leaving the patient alone.
- Crowding around and restricting airflow.
- Delaying CPR due to fear.
Act based on symptoms, not assumptions.
Step 14: Prepare for Ambulance Arrival
Make things easier for paramedics:
- Clear pathway to entrance.
- Unlock doors and gates.
- Turn on outdoor lights at night.
- Keep pets secured.
- Keep elevators ready if in apartment.
Time lost at the entrance can delay care.
Step 15: Gather Important Documents
While one person attends to the patient, another should gather:
- Medical history records
- Current medications
- Allergies list
- ID proof
- Insurance details
If hospital transfer is needed, documentation speeds up admission.
Step 16: Monitor Vital Signs
Keep checking:
- Breathing
- Consciousness
- Skin color
- Pulse (if trained)
If condition changes, inform emergency dispatch immediately.
Step 17: Keep the Patient Warm
Shock can occur in trauma or bleeding cases.
- Cover with blanket.
- Avoid overheating.
- Keep them comfortable.
Temperature stability supports circulation.
Step 18: Offer Emotional Support
Reassurance matters.
Speak calmly:
- “Help is coming.”
- “Stay with me.”
- “You’re going to be okay.”
Fear increases heart rate and breathing stress. Calm reassurance helps stabilize the patient.
Special Situations
Road Accident
- Do not remove helmet unless necessary for breathing.
- Avoid moving patient unless in danger.
- Watch for spinal injury.
Diabetic Emergency
If conscious and low blood sugar suspected:
- Give sugary drink or glucose.
- If unconscious, do not give orally.
Poisoning
- Do not induce vomiting unless instructed.
- Keep substance container for paramedics.
How These Minutes Impact Survival
Studies show that early intervention before ambulance arrival:
- Doubles survival in cardiac arrest.
- Reduces brain damage in stroke.
- Prevents fatal bleeding.
- Reduces complications in trauma.
Your actions bridge the gap between emergency onset and professional care.
Psychological Preparedness Matters
Many people freeze during emergencies because they feel unprepared. Basic first aid knowledge builds confidence and reduces panic.
Consider:
- Learning CPR.
- Attending first aid training.
- Keeping emergency numbers saved.
- Maintaining a first aid kit at home and workplace.
Preparedness transforms fear into effective action.
Why You Should Never Delay Calling an Ambulance
Some families wait, hoping symptoms will improve.
Delay can lead to:
- Cardiac arrest progression.
- Stroke complications.
- Severe internal bleeding.
- Respiratory failure.
Always call immediately in serious emergencies.
It is better to cancel an ambulance than to regret delay.
The Role of Community Awareness
Public awareness improves survival rates.
If more people know:
- CPR basics
- Bleeding control
- Stroke signs
- Heart attack symptoms
community-wide mortality decreases significantly.
Emergency response is not just medical—it is societal.
Conclusion
Waiting for an ambulance can feel like the longest few minutes of your life. But those minutes are powerful. The right actions during this time can prevent deterioration, stabilize vital functions, and even save a life.
Remember the key principles:
- Stay calm.
- Ensure safety.
- Check breathing.
- Start CPR if needed.
- Control bleeding.
- Keep patient comfortable.
- Prepare for ambulance arrival.
Emergency medical professionals bring advanced care, but your immediate response forms the first line of defense.
When seconds matter, informed action matters more.
Being prepared, staying composed, and acting decisively while waiting for an ambulance can make all the difference between survival and tragedy.